It is currently November 21st, 2024, 6:24 pm

Snowbird's orphaned Charger 16DL

View active topics

All times are UTC - 5 hours [ DST ]


Post new topic Reply to topic  [ 68 posts ]  Go to page Previous  1, 2, 3, 4, 5, 6, 7  Next
Author Message
 PostPosted: July 2nd, 2013, 1:19 pm   
HPBC PRESIDENT
User avatar

Joined: March 30th, 2012, 2:25 pm
Posts: 2392
Location: Barrie, On
the hook could cause the boat to bounce.. depending.. every hull will act differently. blue printing helps A lot.


Top
 Profile Send private message  
 PostPosted: July 2nd, 2013, 3:58 pm   
HPBC PRESIDENT
User avatar

Joined: March 31st, 2012, 5:53 pm
Posts: 3548
Location: Lapping lil charger
You've already got it upside down...which is the hard part...so ya, I'd fill in the hook and make the pad smooth and sharp. My Voodoo had a hook of a similar size and it wasn't too bad to deal with.

_________________
08 SRV w/3.1 Hydro-tec Phase lll

I've got enough torque to tear a hole....in time...


Top
 Profile Send private message  
 PostPosted: July 2nd, 2013, 4:30 pm   
Team Member
User avatar

Joined: April 1st, 2012, 12:29 am
Posts: 1445
DoktorC wrote:
You've already got it upside down...which is the hard part...so ya, I'd fill in the hook and make the pad smooth and sharp. My Voodoo had a hook of a similar size and it wasn't too bad to deal with.


I'm with Dok and JC..take out the dip. If you go easy on the filler you won't have as much to sand, use a long straight edge to even out the filler when you put it down.

_________________
Bullet 20 cc Super Comp
Delta with a slow 56
Jcraft with a ProV 150


Top
 Profile Send private message  
 PostPosted: July 2nd, 2013, 8:36 pm   
Member

Joined: July 21st, 2012, 2:31 pm
Posts: 37
Location: Florida
Good enough for me. Something else to add to the list. I'm going to wait until I have all the glass done, though, so the hull is as rigid as possible. Haven't been able to make any progress the last few days. Afternoon thunderstorms keep pinning me down. Shooting for Saturday morning. Weather should be nice. Really appreciate the feedback. Lots more questions but I'll try to wait until they become pertinent.


Top
 Profile Send private message  
 PostPosted: July 5th, 2013, 11:33 am   
Member

Joined: July 21st, 2012, 2:31 pm
Posts: 37
Location: Florida
I've got another question. On the second chine out from the center, there is what has to be an intentional hook before the rear edge. My question is this: I think i came across a post, maybe even Dok's, on another forum article about blueprinting, that there are sometimes intentional hooks put in to help get the boat on plane faster. Well, since I have way more power on the back than was intended, could I take that hook out as well for more speed? I'm leaning towards yes unless somebody can explain otherwise. The tag says the boat is rated for 52Kw which is about 70hp. With so much extra power(150 now, 200 later), i won't need any help getting up on plane, agree? Thanks, Steve.


Top
 Profile Send private message  
 PostPosted: July 5th, 2013, 11:36 am   
Member

Joined: July 21st, 2012, 2:31 pm
Posts: 37
Location: Florida
I'll post pics tonight. I say intentional because its about a 1/4" or more and you can see it without a straightedge.


Top
 Profile Send private message  
 PostPosted: July 5th, 2013, 11:40 am   
HPBC PRESIDENT
User avatar

Joined: March 31st, 2012, 5:53 pm
Posts: 3548
Location: Lapping lil charger
Some of the boats had a hook there (which my DL did...and still has) and on the SK mold there was an additional wedge in between the strakes there too. The hook helps planing to a degree but also the cruising speed porpoise that is inherent with short boats with big motors. Leave it there...it's not in the water at high speed and will help at cruising speeds (IMO...).

_________________
08 SRV w/3.1 Hydro-tec Phase lll

I've got enough torque to tear a hole....in time...


Top
 Profile Send private message  
 PostPosted: July 7th, 2013, 12:04 pm   
Member

Joined: July 21st, 2012, 2:31 pm
Posts: 37
Location: Florida
Thanks, Dok. I will leave the hook.

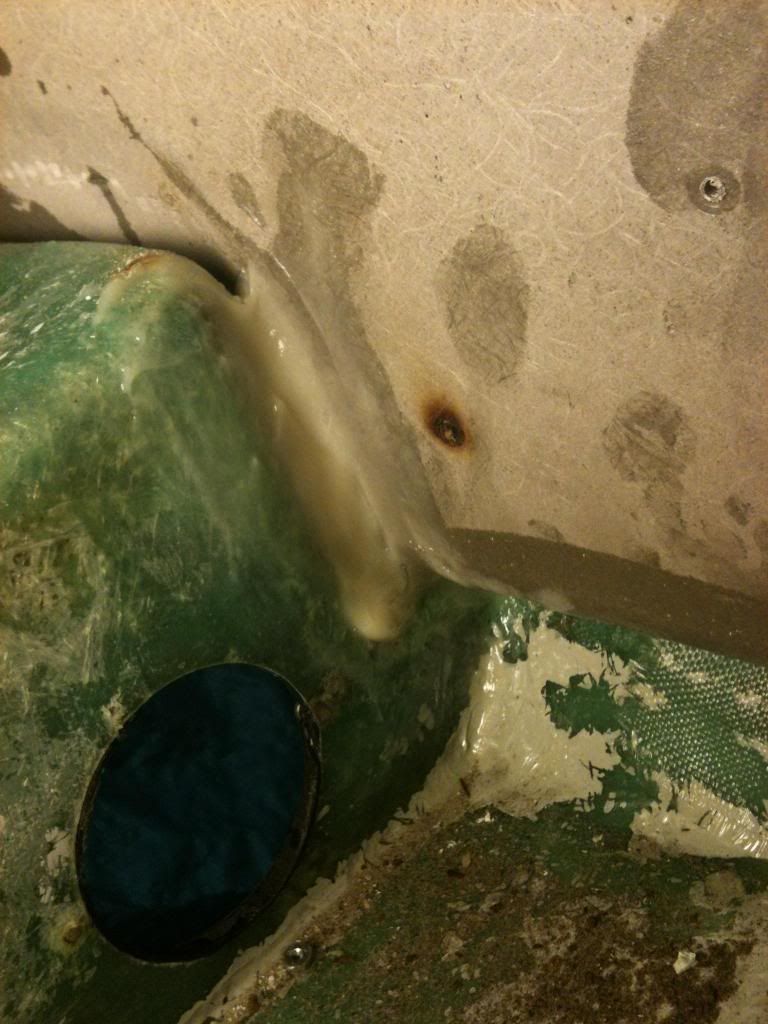
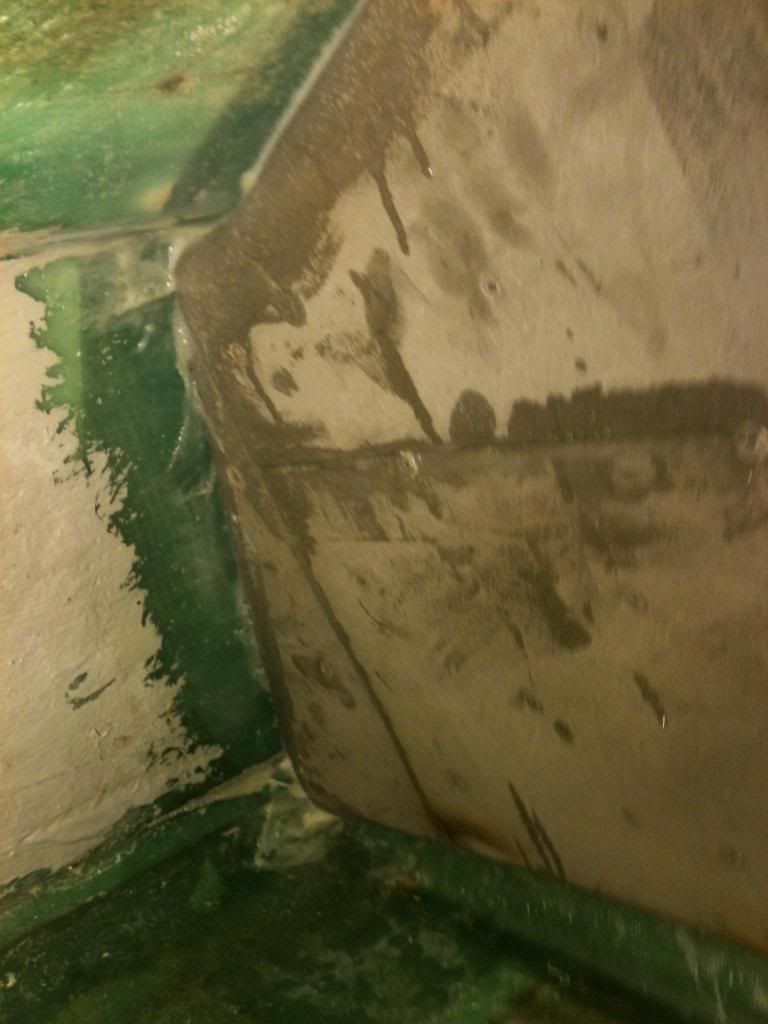
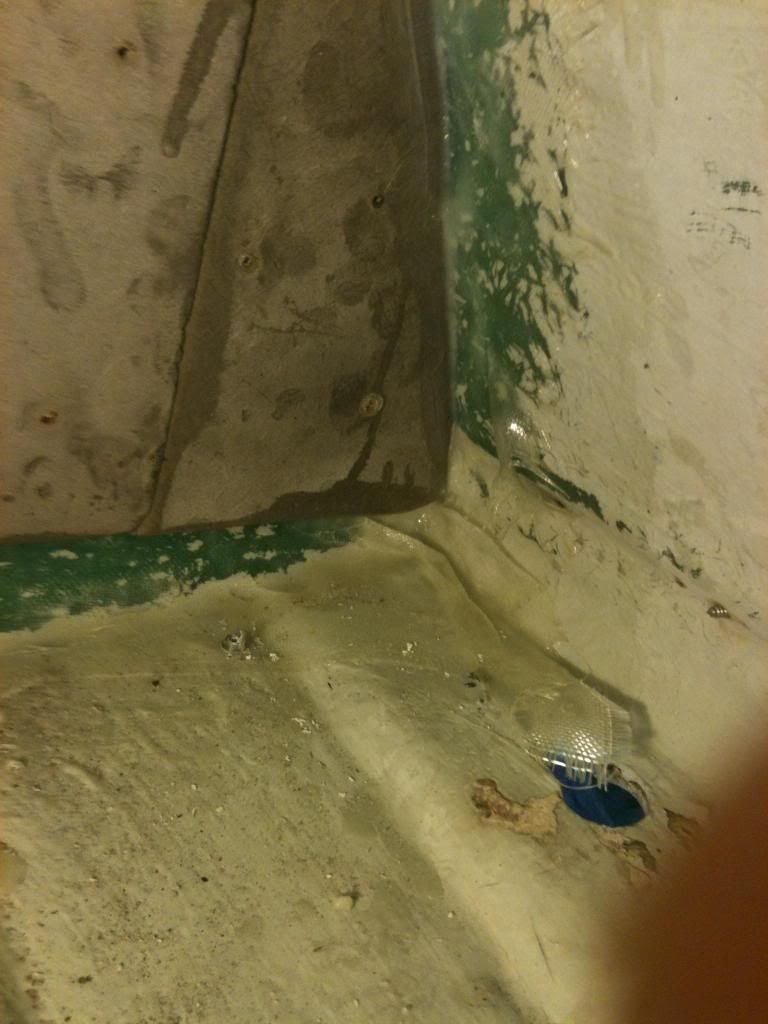
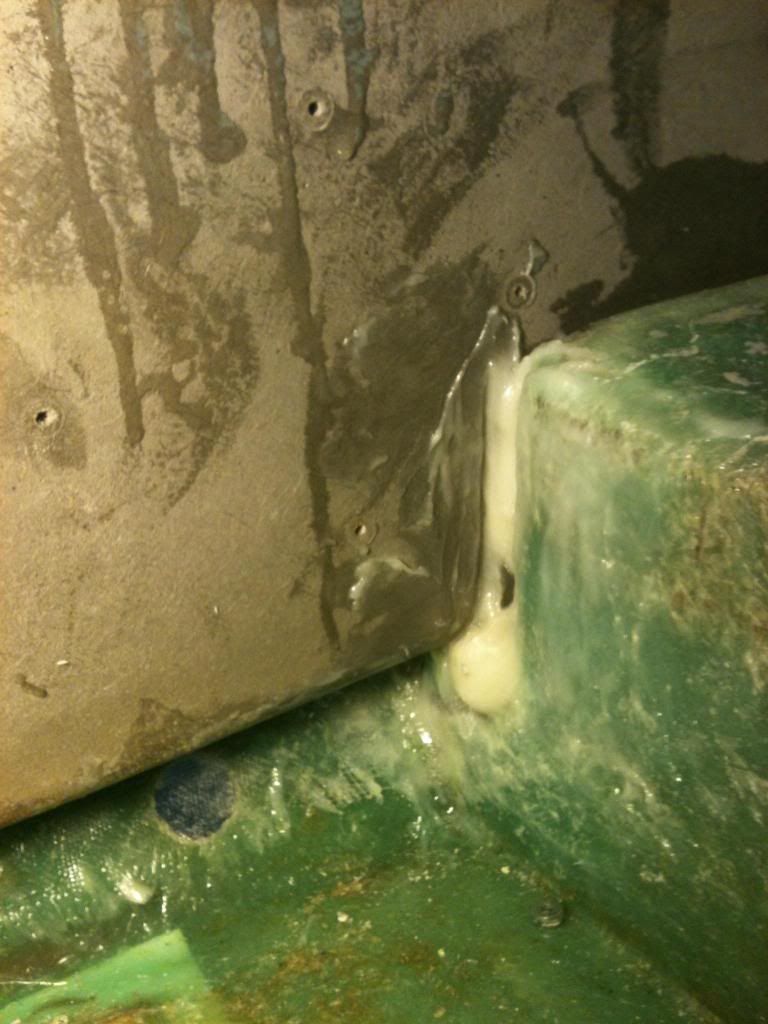
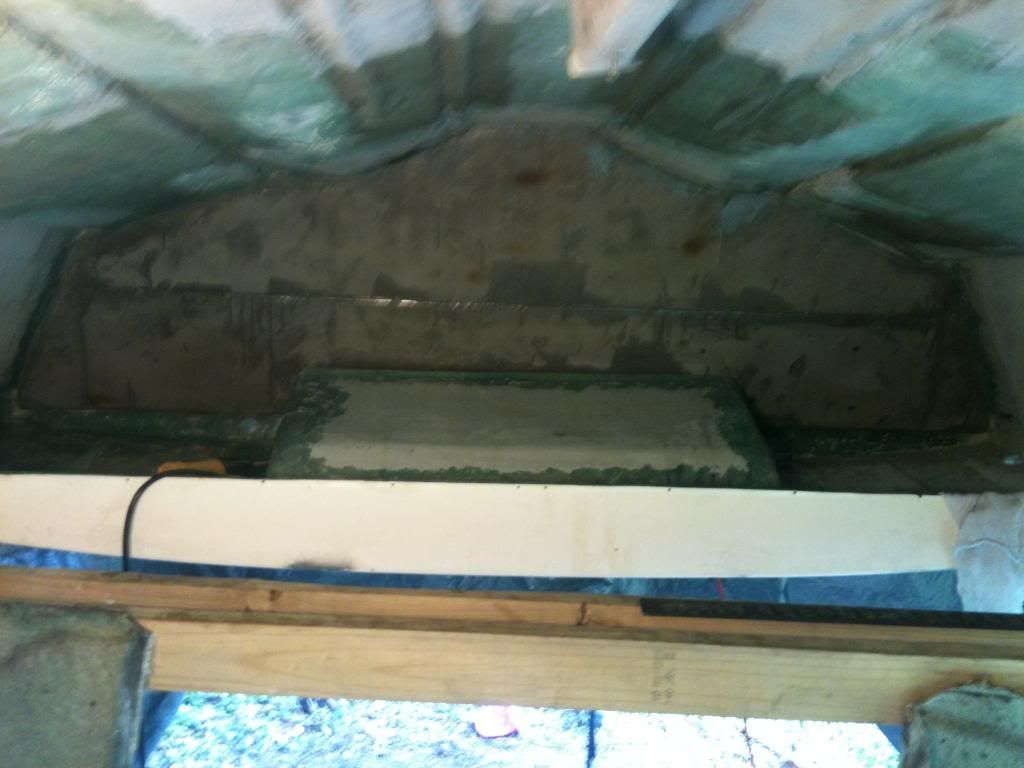
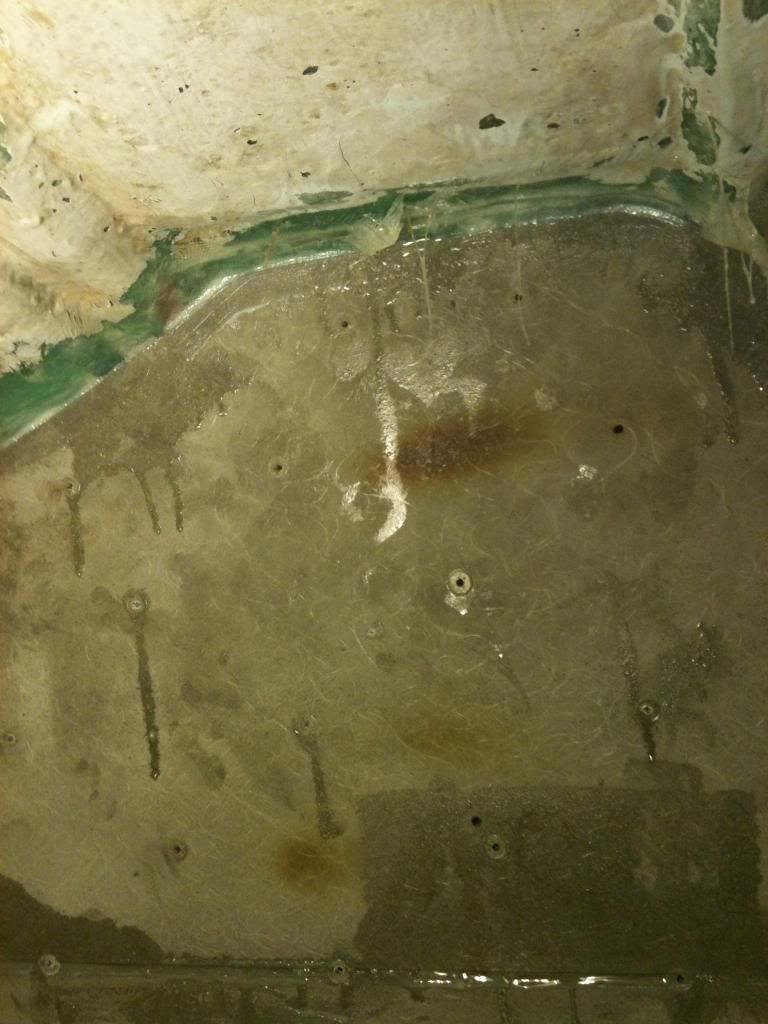
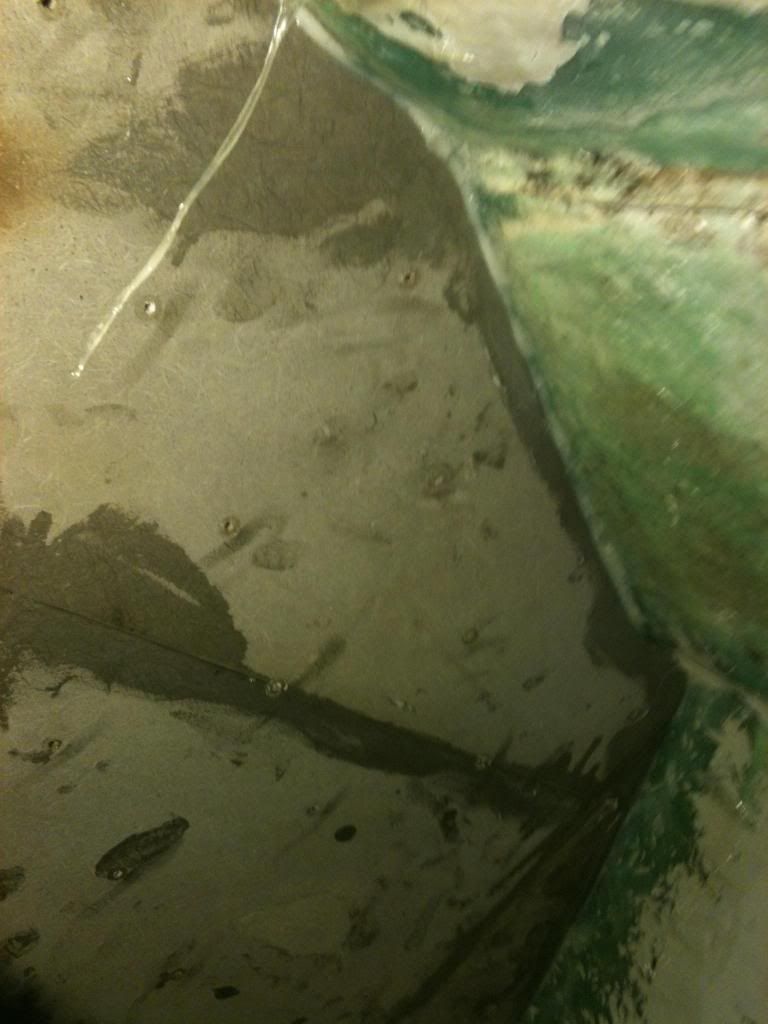
OK. Transom is in!! What a pain in the ass! Three stressful hours, start to finish. Glad I used the extra slow hardener. Only second time ever doing fiberglass and first time with epoxy. Had it everywhere by the time I was done. Pretty happy with the results, though. Thing is solid as a rock! Went through two full cans of colloidal silica. Doesn't go as far as I thought it would. Had a second can for backup and good thing. Here's some pics. Not much to see, I guess, just looking for some commiseration.

port side:
Image
Image
Image


starboard side:

Image
Image

overall:
Image

center:
Image

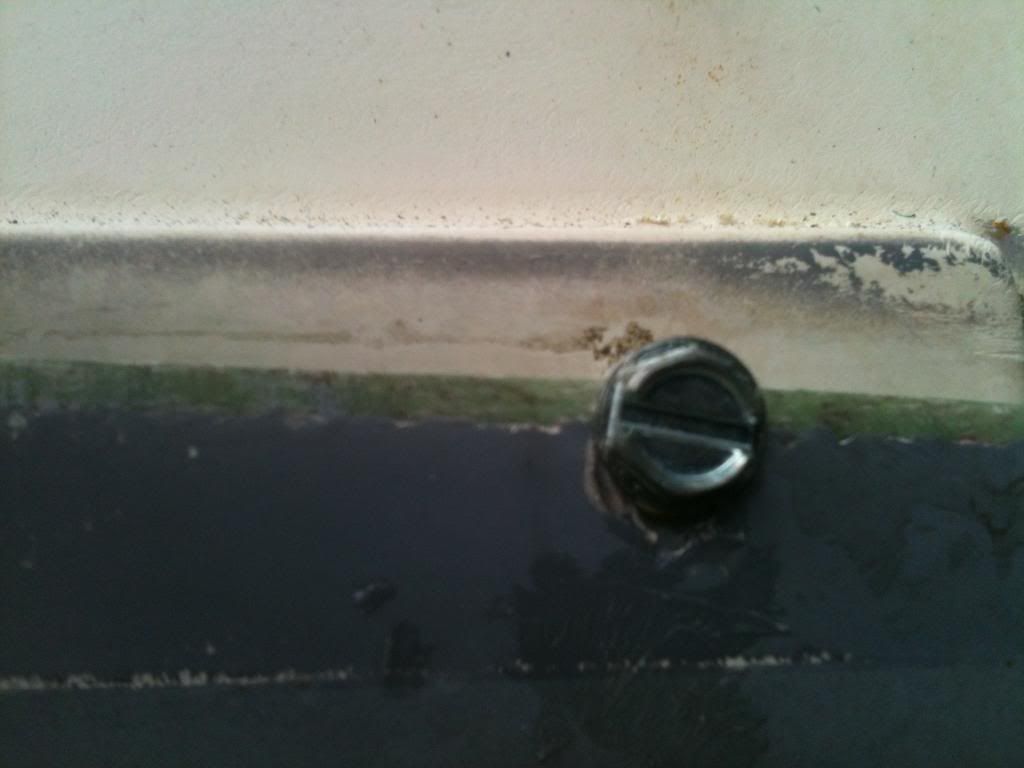
Only a few hiccups. My caulk gun decided to fail with a full tube of paste-had to push the rod to get it to squirt into the gap around the perimeter. Tried to pour neat epoxy into the small gap between the rear of the motor well and the transom face but it burned through the paste that was supposed to keep it in and it mostly leaked out. I'll try it again with some very slightly thickened epoxy later this week. Lastly, the screw that was holding the hull cap to the hull slipped slightly.

You can see the original line versus the new placement in this photo. It's only about 1/8" and I don't think it will be a problem. Do you? I will use the chines as a centerline/ square reference when I redrill the motor mounts. If the top edge of the transom where the motor sits is off, I will correct it then.
Image

Now I have to clean up the rear seat tray/mount/thingy and reference it to the original factor position so that I can start fitting the new oversize kneeboards. This is a lot more than I thought it was going to be. Still think its worth it, though. Thanks for any input you have. Steve.


Top
 Profile Send private message  
 PostPosted: July 7th, 2013, 12:09 pm   
Member

Joined: July 21st, 2012, 2:31 pm
Posts: 37
Location: Florida
Oh yeah, the burn marks are from heating the retention screws so that they could be removed. Had to use a propane torch and got a little too close in a few spots. It is very light-looks worse than it is. and I will clean up the sloppy tabbing, also.


Top
 Profile Send private message  
Display posts from previous:  Sort by  
Post new topic Reply to topic  [ 68 posts ]  Go to page Previous  1, 2, 3, 4, 5, 6, 7  Next

All times are UTC - 5 hours [ DST ]


Who is online

Users browsing this forum: No registered users and 14 guests


You cannot post new topics in this forum
You cannot reply to topics in this forum
You cannot edit your posts in this forum
You cannot delete your posts in this forum
You cannot post attachments in this forum

Search for:
Jump to:  


Powered by phpBB © 2000, 2002, 2005, 2007 phpBB Group
Style originally created by Volize © 2003 • Redesigned SkyLine by MartectX © 2008 - 2010